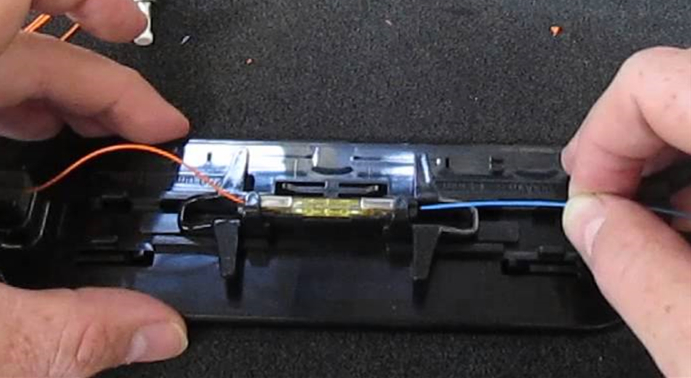
Splicing is one way to join two optical fibers together so that the light signal from one optical fiber can be transferred into another optical fiber. A splice is a permanent connection of two optical fibers. Once the two optical fibers are joined with a splice, they cannot be taken apart and put back together as they can if you join them using connectors. Usually, splice is employed for one of three reasons: to repair a damaged cable, to extend the length of a cable, or to join two different cable types. This article will introduce some useful knowledge about fiber optic splicing.
Generally, there are two methods for fiber optic splicing: mechanical splicing and fusion splicing.
This basically refers to alignment of devices by mechanical splices which have been designed in such a way that they are able to hold ends of two fibers in a position which is precisely aligned enabling light to be able to pass from one fiber to the other. With mechanical splicing you usually get a loss of 0.3 dB.
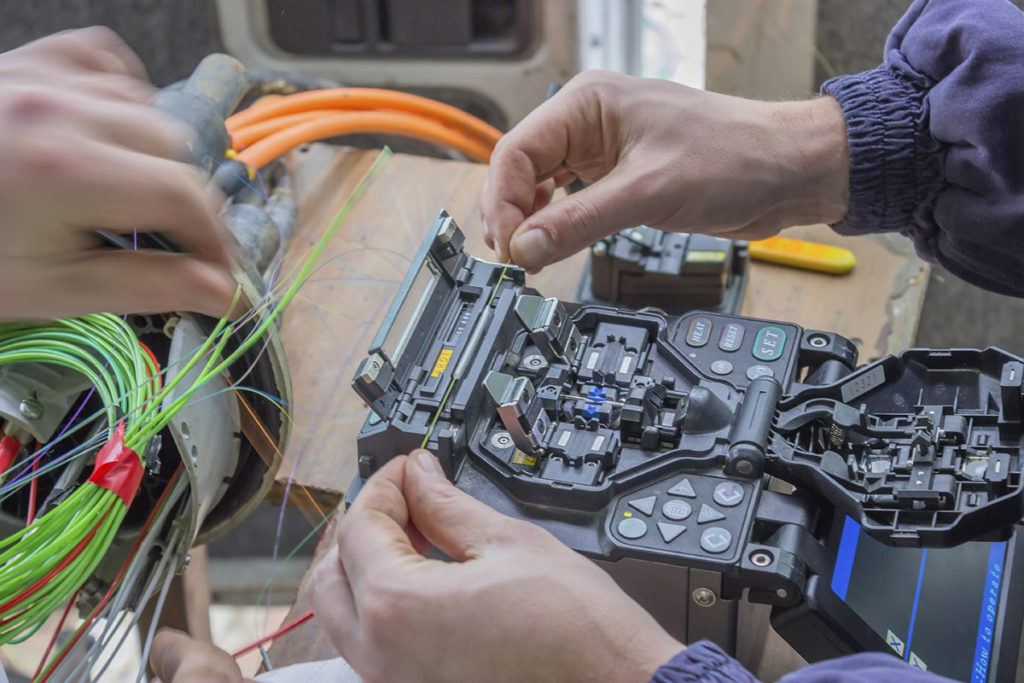
In fusion splicing there is machine (fusion splicer) which is used to align the ends of two fibers precisely, and then the two glass ends are welded or fused together by use of a heat or an electric arc. By effectively implementing the above you will be able to cut down on the loss of light transition thanks to the continuous connection which has been established between the fibers.
Mechanical splice and fusion splice are the two common splicing methods. The basic procedures used for mechanical and fusion splicing are described below.
To prepare for mechanical splicing, make sure that the work area is clean, dry and well lit and then follow the steps below:
1.Remove the mechanical splice from its protective packaging and load the splice into the assembly tool by pressing firmly at the ends of the splice. Do not depress the raised section on the mechanical splice.
2.Strip approximately 3cm of buffer or coating from the optical fiber using a stripper.
3.Clean the optical fiber by pulling the fiber through a lint-free wipe soaked in optical fiber cleaning fluid.
4.Place the optical fiber in the cleaver to the length specified by the mechanical splice manufacturer.
5.Cleave the optical fiber.
6.If a gauge is provided, check the cleave length with the gauge.
7.Repeat steps 2 through 6 for the other fiber end to be spliced.
8.Push one cleaved optical fiber into one end of the mechanical splice until it stops moving.
9.Push the other cleaved optical fiber into the other end of the mechanical splice until it stops moving.
10.Place both optical fibers in the clamping mechanisms on the opposite sides of the splicing tool, forming a modified loop in the optical fiber.
11.Pivot the splicing tool handle down until it contacts the top of the splice, then squeeze the tool handle to complete the assembly and lock the spliced ends in place.
12.Remove the optical fibers from the clamping mechanisms and lift the mechanical splice from the tool.
Many of the steps required to perform a fusion splice are identical to the steps required to perform a mechanical splice. The steps for single optical fiber fusion splicing are as below:
1.Power on the fusion splicer and select the appropriate splicing program for the optical fiber you will be splicing.
2.Slide the protective heat-shrink tubing over one optical fiber end and move it far enough up the optical fiber to place it out of the way.
3.Strip approximately 3cm of buffer and coating from the optical fiber using a stripper.
4.Clean the optical fiber by pulling the fiber through a lint-free wipe soaked in optical fiber cleaning fluid.
5.Place the optical fiber in the cleaver to the length specified by the mechanical splice manufacturer.
6.Cleave the optical fiber by using cleaver.
7.Place the optical fiber in the fusion splicer following the manufacturer’s instructions. Position the endface of the optical fiber between the electrodes.
8.Repeat steps 3 through 7 for the other fiber end to be spliced. The properly placed fibers should be slightly separated between the electrodes.
9.Close the electrode cover.
10.Begin the fusion splicing process.
11.Carefully remove the splice and position the heat-shrink tubing from step 2 over it. Place the splice and tubing in the heat-shrink oven to seal and protect the splice.
Next please note the steps for ribbon fiber fusion splicing:
1.Power on the fusion splicer and select the appropriate splicing program for the optical fiber you will be splicing.
2.Slide the protective heat-shrink tubing over one ribbon fiber end and move it far enough up the optical fiber to place it out of the way.
3.Strip approximately 3cm of Mylar tape and coating from the ribbon fiber.
4.Clean the ribbon fiber by pulling the fiber through a lint-free wipe soaked in optical fiber cleaning fluid.
5.Place the ribbon fiber in the cleaver to the length specified by the manufacturer of splicer you are using.
6.Cleave the ribbon fiber.
7.Place the ribbon fiber in the fusion splicer. Position the ribbon fiber as described in the manufacturer’s data sheet.
8.Lock the ribbon fiber in place as described in the manufacturer’s data sheet.
9.Repeat steps 3 through 8 for the other fiber end to be spliced.
10.Close the electrode cover.
11.Begin the fusion splicing process.
12.Carefully remove the splice and position the heat shrink tubing from step 2 over it. Place the splice and tubing in the heat shrink oven to seal and protect the splice.
This article tells the basic procedures for mechanical splicing and fusion splicing. A mechanical splice aligns the cleaved optical fibers and holds them in place. A fusion splicer creates a permanent splice by melting the optical fiber endfaces to one another with an electric arc between two electrodes. Fusion splicing is the most accurate and durable method of joining two optical fibers.